
Installing an aftermarket Amplifier in 2022 - Do I need Load Resistors?
By Brian Doll, AutoHarnessHouse.com Technical support, November 2022
Introduction:
As one of the leaders in providing aftermarket wiring and installation kits to Toyota, Nissan, Subaru, Ford, and Honda owners, we get many questions from owners about the proper way to install an aftermarket amplifier. It is important that this aftermarket equipment works smoothly with their factory original audio system. We often use load resistors when connecting to the speaker signals, for example to add a subwoofer or to add an amplifier to boost the OEM speakers. At AutoHarnessHouse.com we have jumpers that we sell specifically for connecting to speaker signals on Toyota, Subaru, Scion, Honda, and Nissan vehicles and we can build parts to support basically any model. These adapters make installing an aftermarket amplifier simple and avoid damage to the OEM wiring. (Some would say plug and play, but technically, you will need to connect wires to the aftermarket audio equipment so it isn't exactly "Plug and play") This article should clear up many of the common questions and will get you on your way without weeding through pages of forum threads or digging into your car only to find that something you've bought doesn't fit.
This article is mostly relevant to installations where the original OEM audio system is retained. If you are installing an aftermarket double din stereo system, such as a Pioneer, Sony, Alpine, or ATOTO system, the connection for the aftermarket amplifier is much more straight forward! Please email us with questions at inquiry@autoharnesshouse.com or head over to our Wiring and Compatibility Database Page to find plug and play parts for installing an aftermarket audio receiver. If you're looking to add Android Auto or CarPlay to your vehicle, this is probably the way to go! This page has free wiring information and pinouts for most vehicles!
A Brief Discussion of Amplifier Design
First let’s talk about amplifier design. Your car's audio system has an amplifier that is designed to drive the speakers in the car. Sometimes this is a separate unit that is mounted under one of the front seats or in the trunk. Sometimes it is internal to the stereo receiver in your car. If we aren’t installing a full aftermarket audio system, we will usually be connecting to the output of this amplifier to add an aftermarket amplifier. Since we are daisy-chaining amplifiers, we may need to consider if our new equipment will change the circuit. Any amplifier is designed to work with a certain impedance or load. A low impedance will create a higher current condition at the output of the amp and a high impedance will create lower current. Think of this as a garden hose with a man standing on it. The heavier the man (impedance) standing on the hose, the less the flow (Current). The main issues we see are when we either reduce the load to a level below what the amplifier is designed to handle and thereby increasing the current or increase the impedance such that the amplifier is unable to drive the load (high load=near zero current flow). The former can cause the amp to overheat or shut down due to high current. The latter usually just causes an unstable or low quality output. Amps are much more sensitive to low impedance than high impedance.
Connection examples - Do I need Load Resistors?
The take-away so far is that we want the new aftermarket amplifier and equipment to be connected in a way that mimics the original speakers that are connected - it should be consistent with the design of the OEM amplifier. Unfortunately, there isn't a single one-size solution for all scenarios. The new amplifier, the load resistors (if installed), and the existing speakers (if you keep these) combine to create a circuit or "load" and we want that load to looks like a speaker to the amplifier. Here are the main considerations:
1) The impedance of the original speaker is normally low...About 2 ohms to 8 ohms.
2) Amplifiers are normally more sensitive to a load impedance that is lower than the amplifier design impedance and less sensitive to higher impedance loads. If we start with a 4 ohm speaker and we connect a 2 ohm load, we can expect trouble while a 30 ohm load will probably cause no issues.
3) Line Output Converters (See discussion below) and Amps often have a very high input impedance. (1000-2000 ohms in the tests that we did)
Here is a diagram of a Line Output connected to an OEM speaker signal and an aftermarket amplifier. I've shown the diagram for both the scenario where the original speaker is still connected (as if an aftermarket subwoofer is being added but the factory speaker is not removed) and for the scenario where the original speaker is connected to the output of the new amplifier (no speaker connected to the output of the original amplifier).
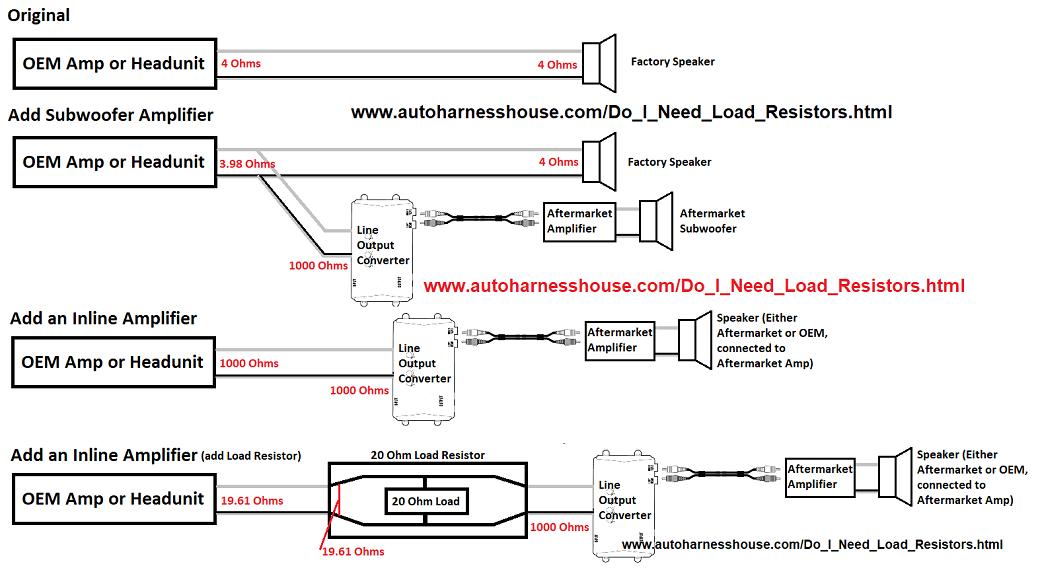
In the 3rd scenario, the impedance imposed by the line output converter on the factory amp is 1000 Ohms. This is outside of the designed range of the amp and will cause the signal to be unstable. To remedy this, we install inline load resistors to stabilize the signal (see the 4th example). These load resistors can either be built into the line output converter or you can install AXXESS AX-LR20 20 ohm Load Generating Device which will install inline between the OEM speaker signal and the line output converter. You may ask "Why not use a 4 Ohm resistor to drop the impedance to be equivalent to the factory condition?" The answer is that it isn't necessary and will create heat (because it's burning energy that would normally be running a speaker). Lowering resistance further would waste energy and put unnecessary strain on the amplifier. Remember also, the 2nd point above: Usually, factory amplifiers are not as sensitive to a load that is higher than expected vs. lower than expected.
Bottom Line: If you are keeping the OEM speakers wired in parallel with your new audio equipment, then you don't need load resistors. If the OEM speaker is to be removed, it would be best to install a load resistor!
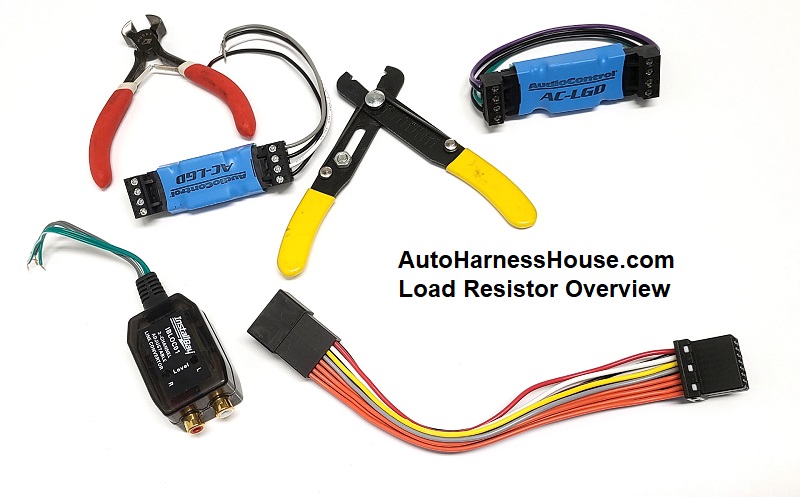
Parts list and links to recommended products:
You may need a list of parts or just some pictures to show how things need to be wired! This section will help with all of that!
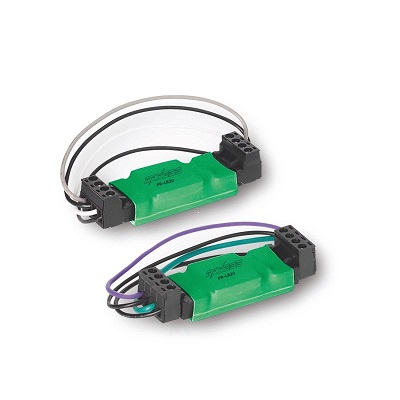
Splice Wiring Adapter - Wiring in your New Amp
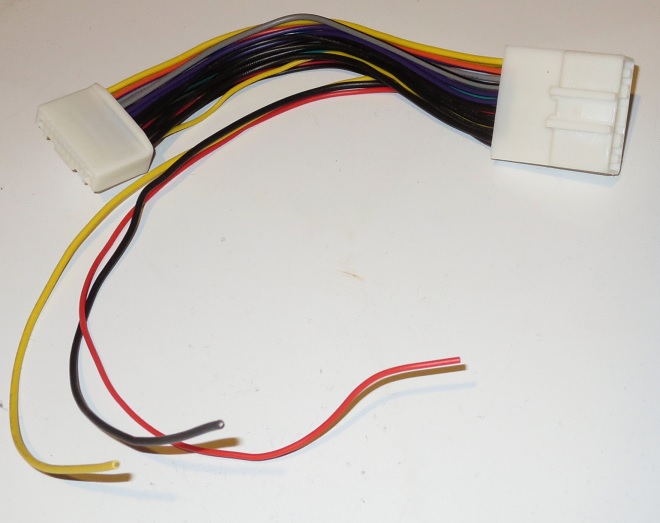
Here at AutoHarnessHouse.com, we offer a number of splice adapters or jumper adapters designed to connect to the back of your OEM headunit. These adapters allow you to tie into or cut speaker signals so that signals can be routed to an aftermarket amplifier without damaging the factory wiring harness. Here are listing pages for some of these products:
Nissan (All Available Model Years)
Subaru (All Available Model Years)
All of these adapters are designed to connect behind the OEM headunit. They use high quality wire and can be used to cut or "T" into speaker signals instead of tying directly into the factory wiring.
If you need connections for the output of the OEM amplifier, just let us know what you need and we will do our best to help you!
The Line Output Converter
Your stock amplifier will output a Speaker-Level or High Level signal. This signal has a magnitude that is generally higher than the signal that aftermarket amplifiers are designed for. When you see an RCA connection on an amplifier, this is generally a Low Magnitude signal or "Line Level". We use a "Line Output Converter" or LOC to connect Speaker level signals to a Line Level input on the new amp. Some aftermarket amplifiers have the LOC built in and you will not need a separate unit in this case. Look for a setting or switch to select the input level of the signal!
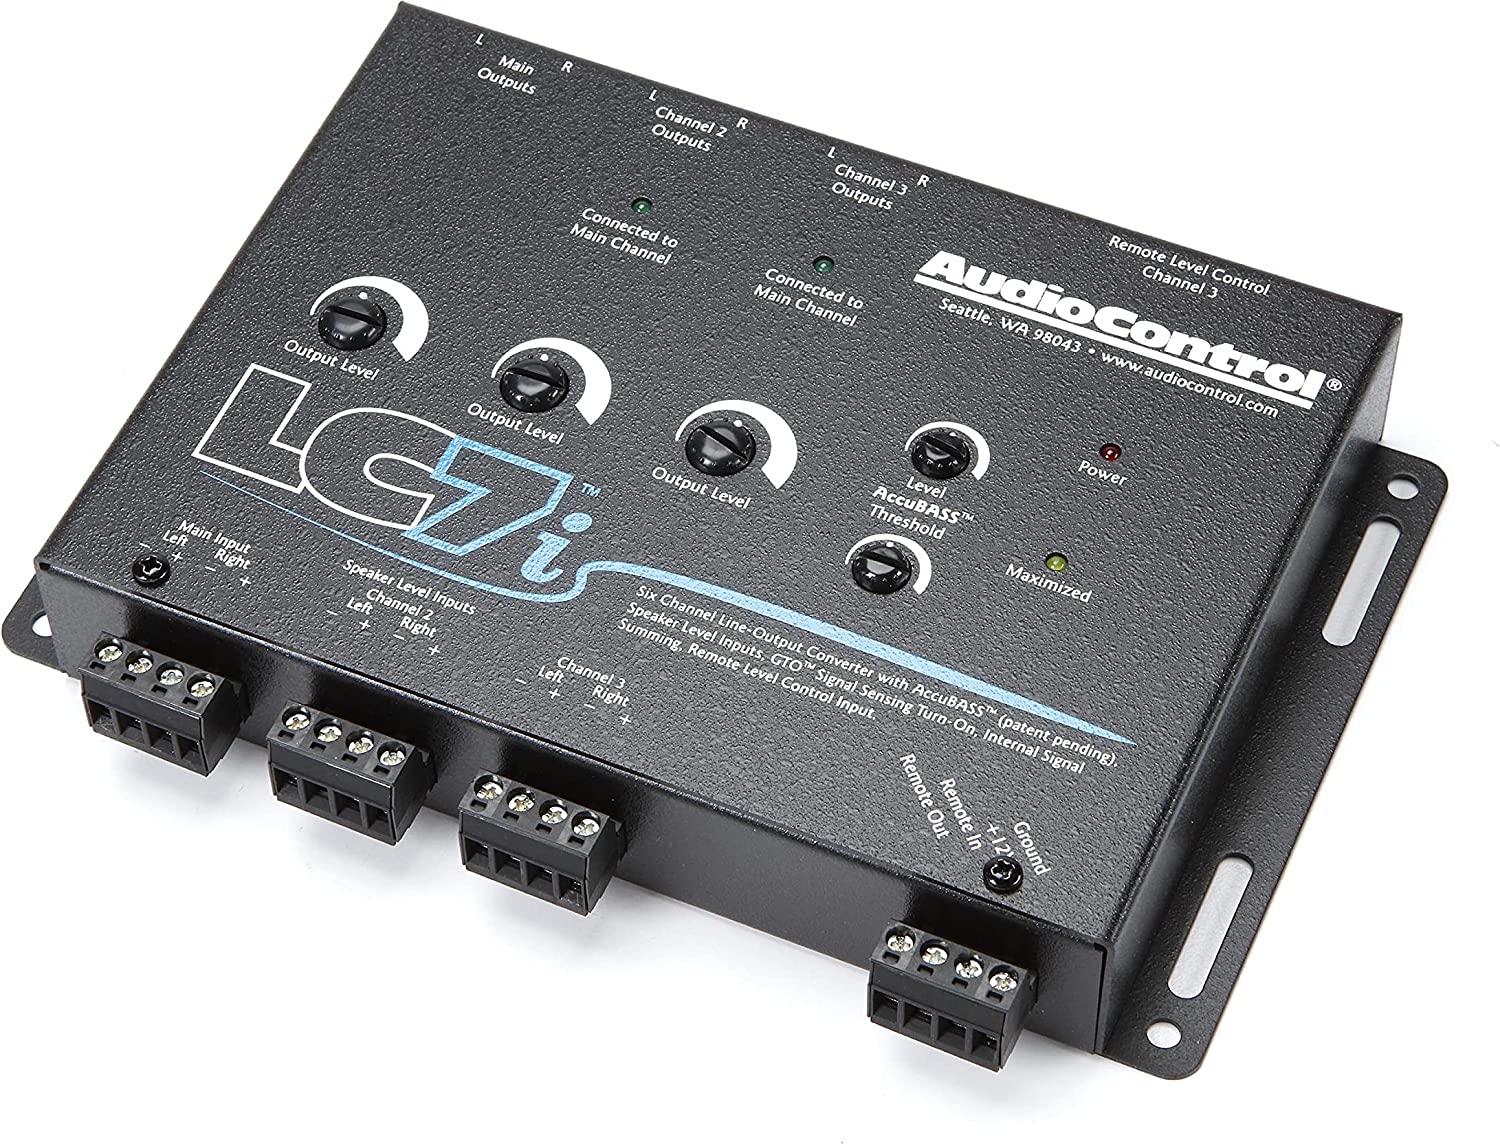
If you would like the gold standard in Line Output converters, we recommend the AudioControl LC2i for applications where 2 channels are needed (such as adding a subwoofer and amp). The LC2i Pro has built in load resistors so this model is better if you need those or the AudioControl LC7i where more channels are required. These are feature-rich, high quality devices that fit the bill in most scenarios.
Load Resistors
If you need Load resistor, we suggest the AXXESS AX-LR20 20 ohm Load Generating Device (Load Resistor):
These devices are very simple to install. One side will connect to the speaker signal and the other side will connect to the aftermarket equipment. Installing these resistors in a condition where the impedance is already low can cause the impedance to drop below the designed impedance. We do not recommend doing this!
Subaru Telematics/Starlink Side Note
We also frequently use load resistors to prevent errors if your vehicle has the Subaru Telematics system. – This article does not cover that scenario but we have more information here on using load resistors for the Subaru Telematics system!
Final Thoughts
We wish you the best with your install! As automobiles have become more complex, so have the infotainment systems. Hopefully this article has provided you with enough information to install your new amplifier the right way. Our support team is here and happy to help if you have questions or are confused about details. Email us at inquiry@autoharnesshouse.com if there is anything that we can clarify or if you need something more custom than the standard, recommended set of parts for your vehicle.
As an Amazon Associate AutoHarnessHouse.com earns from qualifying purchases.
www.autoharnesshouse.com
inquiry@autoharnesshouse.com